Showing posts with label Cushion. Show all posts

Wednesday, 26 September 2012

Not a pillow... not a cushion... but definitely embroidered


This is quite a picture heavy post, which I suppose is better than a word heavy post, so I'll try and keep the words to a minimum. You can see previous incarnations of this project here and here, and in this one I'm going to show you how I finished off the project once the embroidery was complete (another project finished, hoorah!).

To finish the embroidery I learnt a new stitch, fly stitch which I used to finish the lilac lavender/ reeds (?). I used these instructions, and it seemed very similar to detached chain.


The rest  of the embroidery was finished using a combination of detached chain, lazy daisy, french knots and backstitch. If you'd like a more in depth list of how to do this pattern, (and perhaps a scan of the pattern itself) please let me know and I will do a more developed post.

To finish the cushion, I started by trimming off all the edges with my new toy rotary cutter. I then pressed in the sides, giving 3/4" of border around the outside, pressing the bottom edge first, and matching the top layer to this.


To press in the corner, fold in the corner of the edge down to your pressed crease on the inside. Press the original crease again, with the triangle on the inside. Like this:


I then sewed in the pom pom edging I posted about here, between the two layers using my zipper foot:
Once I had a basic layer for decoration, I got out all the bits and pieces of trim from my stash that went well with the pompom trim/ embroidery. I laid these onto the cushion to give me a starting point.
I then attached all trims which would be treated as one. Such as:

 In order to make the plait as above, I stitched the three ribbons together with the machine, leaving the needle in. I then plaited from this point, stitching the other end together when complete.
 
 I then stitched the layers on in stages, one ribbon at a time, beginning with the layers on the bottom, and finishing with those on top (as you'd imagine). This was quite complicated, as I tried very hard to only stitch through one layer of fabric. This meant that I had to resort to hand stitching for some elements.

This is the finished project, what do you think? Should have taken the pics in daylight really, apparentl 7.30am doesn't constitute daylight anymore.


Deborah


Saturday, 15 September 2012

September Weekend Projects

Working for the Council has some benefits, the best of which is the Midlothian September weekend. I have a four day weekend to play with, and for the first time (probably since we moved up) we don't have visitors!


The original plan was to make a practise version of my wedding dress (above left), but with the prices of fabric up in Edinburgh, and the amount of fabric needed for my first draft pattern V1094, I decided to get a pattern with a little less fabric. So I chose New Look 6723, and a beautiful vintage wallpaper-esque navy blue fabric. I think I need the most practise on the bodice, so went for a basic one to start with, to work my way up. I'll keep you posted with progress on this one.

The project I've first started is a re-working of the orange skirt (in the centre of this picture), when I first bought this skirt it was a number of sizes too big for me. So I did my usual job of taking it apart and adding a couple of pleats. It sort of fit, but having lost a little weight over the summer, it has just become unwearable. So I've gone back to basics, taking all the seams apart, and making the pattern pieces from New Look 6128. I ran out of fabric to do the waistline, so I've added in some dark green and blue tartan as the pocket pieces, adding some contrast. I think it works, but will have to wait and see if I wear it when it's finished.


You've seen a variety of pictures of my flower embroidery, and I'm coming to the end of finishing it. So I bought some teal pom pom trim (my favourite kind of trim) and I'm going to add it to the edge of the pillow/ cushion to make it slightly more cushion looking (hopefully). Also, Im thinking it needs something a little more in the main area of the cushion, feels a litte white to me. I've got some plans for how to fill this in... watch this space!

Obviously I have taken on way more than I can do in this weekend, but it's quite nice to have exciting plans ahead. Ill update you soon with my progress!


Deborah

Monday, 3 September 2012

Embroidery bonanza

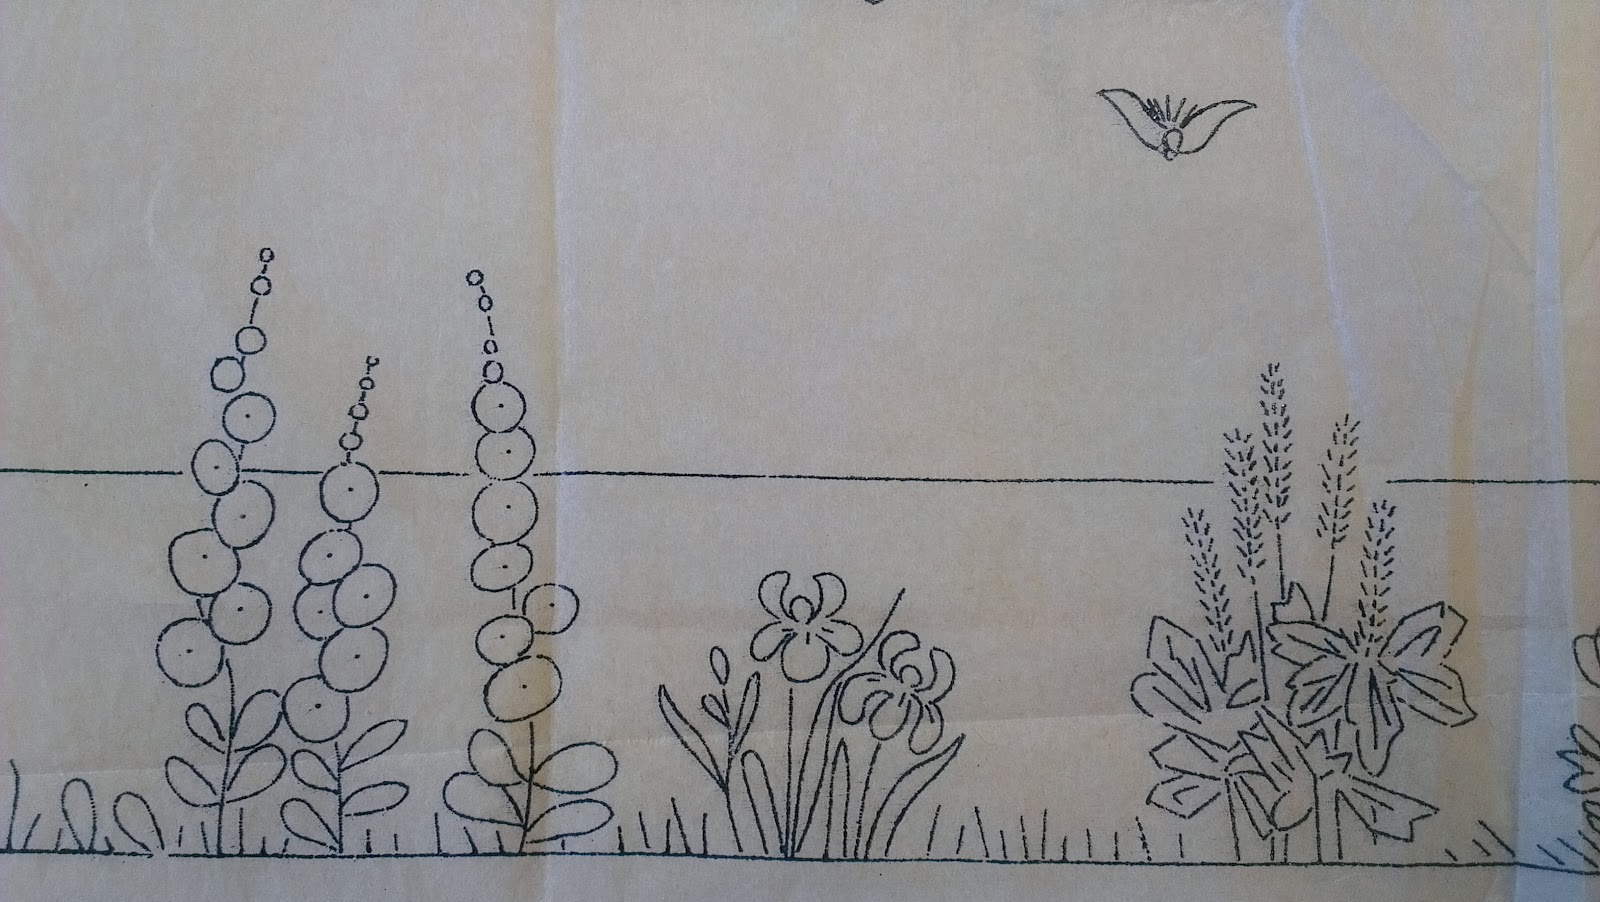
For my birthday this year, I received some beautiful vintage embroidery transfers from Mr T's mum. Having just started up properly with embroidery, I'm really exciting about practising some techniques, and finding some new ones to fill in the gaps in these lovely patterns. I've got four plain cotton pillow cases (I call them pillow cases but they're actually too big to be cushions and too small to be pillows) to decorate, and so I've chosen the following pattern:

 They are far too chintzy for Mr T's taste, but as usual I'm sure he'll suffer in silence. I'll try and include some dark red, and some navy, that should keep him happy.

So, in order to copy over the pattern, as I didnt want to damage the pattern anymore than necessary (some of the transfer is starting to peel away, leaving little black spots all over my desk.) I just laid the pattern under the top layer of cotton, and traced it over in my trusty wash away pen. And I ended up with this!

Those with good vision might spot the failure of a bird with a big cross through it on the right, I do want to add some birds/ bees around the flowers, but will try and find a better pattern elsewhere as the birds on this pattern look a little odd.

Having traced over the pattern very roughly I then filled in the detail freehand. I'm very happy with how it came out... but we'll just have to wait and see what kinds of stitches I might need. Let me know if you have any suggestions.

Deborah


LinkWithin

Related Posts Plugin for WordPress, Blogger...