Showing posts with label Alteration. Show all posts

Thursday, 28 May 2015

Peacock Washi

I'm back! How have you all been? Croatia was amazing, I spent most of the time I was away lying down with the theme tune of Game of Thrones in my head. It is stuck there forever now. We found a couple of spots that were definitely from the film in Dubrovnik's old town, which is absolutely beautiful. We were also very lucky to stay in an apartment outside of Dubrovnik on one of those resorts, with a swimming pool, and restaurants and the occasional dragon...


Seriously though, it was amazing to take some time out and have naps, and be in the sun. It's amazing how much sleep I want right now, but obviously that's not really a viable option when you're at work... unless I just crawl under the desk for half an hour. Not sure how well that would go down, I mean they're pretty understanding but even that pushes a boundary right?

I want to do a me made may catch up from the holiday, But I've got masses of sewing to catch you up on too so first I've got makes to show you. The top I'm going to talk about was made a couple of months ago now, from the same material as the dress that I made for the Peacock outfit from GBSB. Did I mention I got these back by the way? 


And my dress from the first episode fits!! It's a little long, but the bodice probably fits better than the Annas I've made for myself. The vintage blouse fits too, so exciting. I'm afraid the kilt doesn't quite fit Terence, the waist on my model was teeny tiny!

Ok so, distractions over... here's the top!


This is another Washi adaptation, as you can probably tell. I cut it off at the tunic length but found it was a little long, so shortened it by another inch or so. 

I added the button placket to the bodice, this was a very simple adaptation. I traced the bodice front, adding seam allowance, and two widths of placket to the centre front seam. I interfaced this central placket, and added buttons and buttonholes. I stitched the placket closed at the bottom, and added the... skirt(?) as usual. What do you call it when it isn't a skirt? 


This is what the bump looked like a couple of weeks ago, Spud's a little bigger now. I went to another appointment today, all is well in Spudsville. Except she/he keeps sneaking up by my ribs which is pretty uncomfortable, but well worth it for the dancing in my belly. 


I left out the shirring elastic, and added ties instead, I was hoping for more of a loose, comfortable fit and I definitely got what I was looking for. This is a comfy top, with plenty of room for bump in a lovely crisp cotton. I bound the neckline for an easy finish, and did my usual binding of the hem. 


In conclusion, I love this top! In fact I need to make another one. I've still got so much stash to get through and I think this would make a perfect use for some of my floatier fabrics. I'm trying to make sure I have some very breathable things for Summer. I have a feeling I'm going to get waaarm.

Thursday, 9 April 2015

A&A Cami 2: Widen Armholes

Good evening kind folk!

First off, thank you so very much for all your kind words of congratulation in comments and on Twitter. We are overwhelmed by your generosity! Me and Mr T have been doing our usual dealing with the little stuff, and the big stuff is taking care of itself. Thank you for your luck with the scan, everything looked grand, working organs and everything, I'm not sure how interested you are in our baby's organs... but now you know :-)

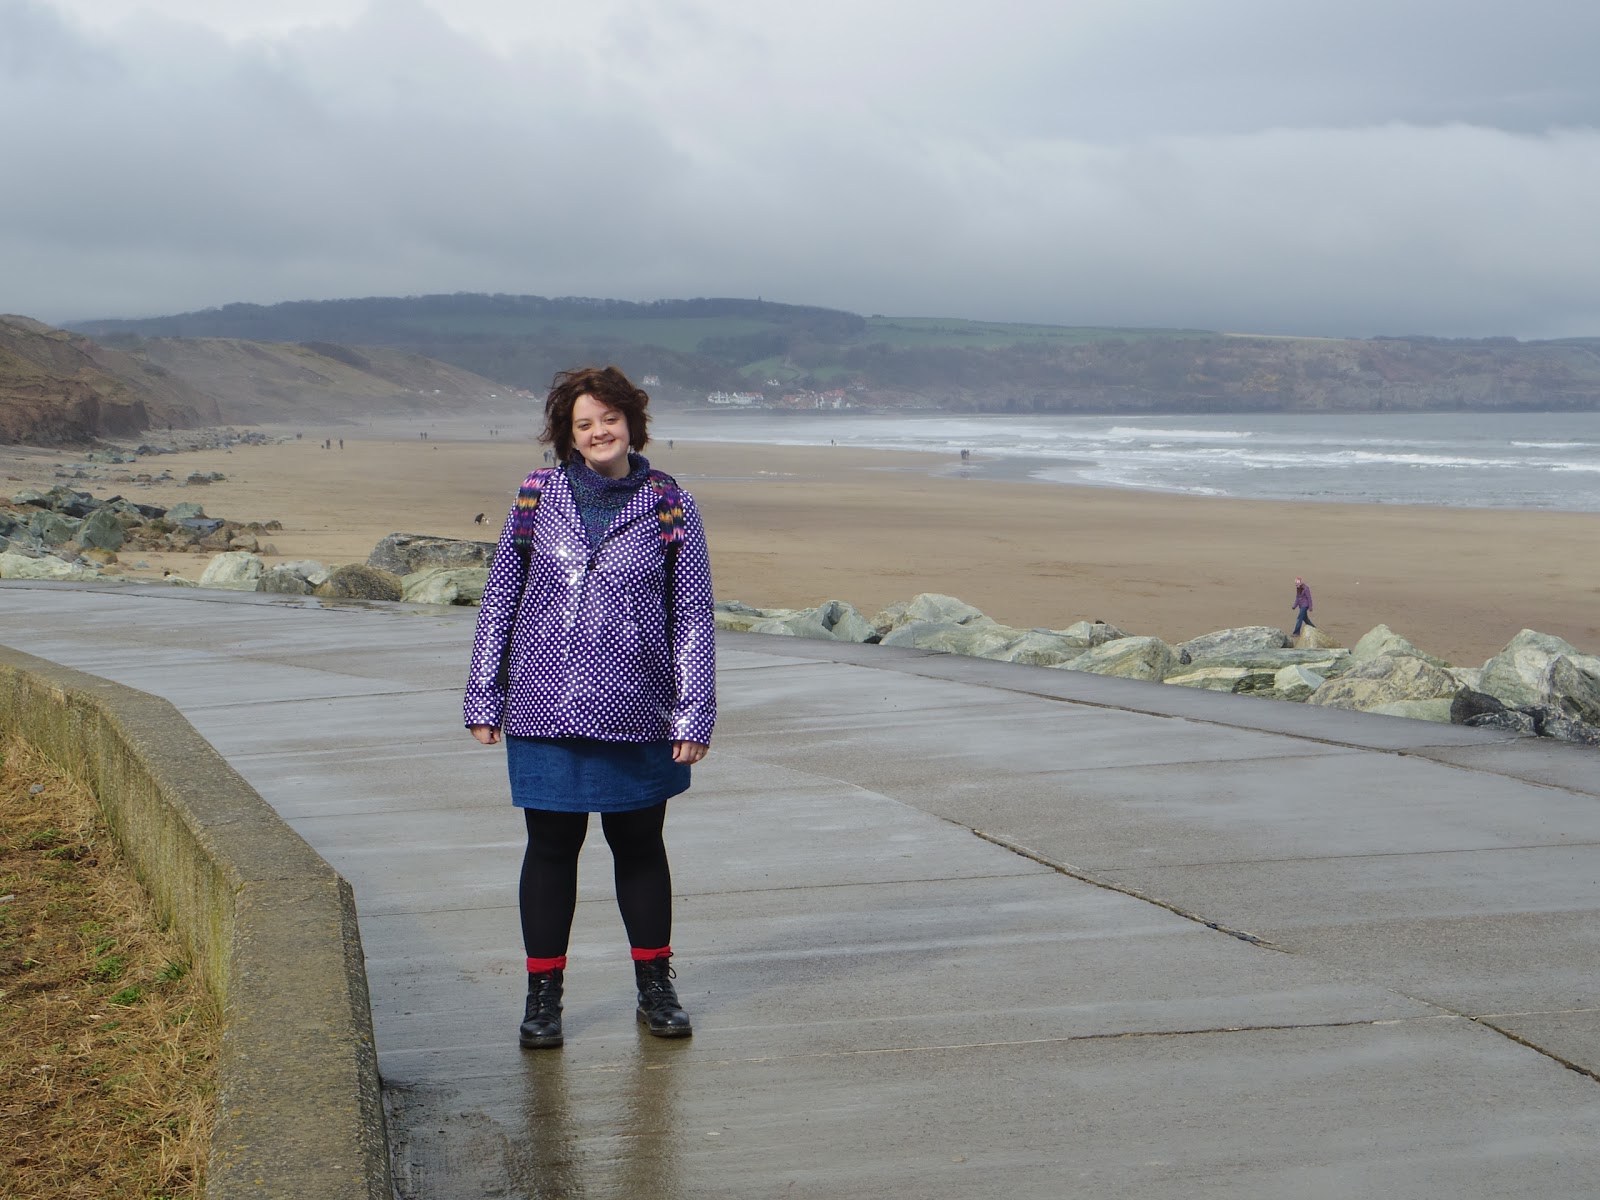
The weather has been amazing! We went to Whitby for the weekend, and I brought my thickest Mum knit jumper along as obviously I knew I would freeze. However, I got a sun burn! I know, nothing to brag about, but the first time you are caught out by the sun in the year is always worth a little celebration in my book. Here's me delighted just to be on holiday, however cold. I'm wearing my purple rain mac that I made last year, it's finally warm enough to wear it yay!! It really needs a zip though as half the buttons have popped off due to the inflexibility of the fabric. I'm trying to find a suitable double ended zip, but it's hard work getting one the right colour and size. Any tips?

Just imagine how big my smile was when it was sunny! I'm saving those pics for an outfit post, as I've finally got pictures of the map top I wore in episode one of the Sewing Bee. I've had quite a few requests regarding how this was made, so can't wait to show you the process.


So where were we? I've been taking you through some of the adjustments that I made to the Cami to make myself a standard shirt dress and shirt pattern. We have made adjustments to the shoulder seam, so it should now sit directly on the edge of my shoulder. You can read about this wide shoulder adjustment in my last Adaptation and Alteration post. I was hopeful that this would give me a little extra room in the bodice that would get rid of some of the pulling. However, I knew that the armholes were still tight, so I made an adjustment to widen the armhole. 

You can read a little bit more on this technique here:
1. If you previously cut a smaller size for the armholes, and you can still see the pattern marking for the larger sizes, then just cut along this line. If not, then mark the amount that you want to drop the armhole (I did this in 1cm increments) on the side seam. Using a french ruler copy the curve of the original seam line lower down, matching your mark up with the original curve as you can see in the diagram.

2.  Then you want to extend the side seams on the arm piece to match what you have just taken away from the armhole. I found the easiest thing to do was to re-trace the sleeve piece, then add the amount you need (should be the same as you have taken from the armhole in step 1) horizontally from the end point of the curve on either side of the sleeve. Taper this down to nothing at the end of the sleeve piece. 

So! As the original dress fitted so well, and I had now added so much room to the pattern at this point, I paused. I didn't want to go completely the wrong way and add in too much ease which would then result in a massive unwearable garment. So this is when I decided to make wearable muslin No. 2. 

I don't like the term wearable muslin... it makes it sound like it's a practise run, which I guess it is but doesn't do justice to the amount of work that goes into something like this. I wanted to do something a little different this time, as I didn't want to jump straight into another shirt dress. Therefore this time I opted for a shirt

In order to make a shirt pattern from the bodice, you extend the lines of the bodice out into the length for a shirt. I usually copy a shirt I already have:

1.  I first laid down my pattern piece on the table, I then covered this with see through medical paper which I use for tracing patterns. you can use any paper which is durable enough to withstand being pinned etc but is still see through enough to see the pattern pieces beneath. 

I then laid a shirt that I already owned over the pattern piece that I had made all of the adjustments to so far, matching up the end of the armhole and shoulder seam. I then traced the new hem line and hip angle up to the shirt side seam. I took away the shirt, and traced the rest of the shirt pattern that I had previously made adjustments to. 

You will want to ignore the bottom dart, but add in the bust dart to provide some shaping to your shirt.

2.  Using a ruler, follow the placket lines down from the pattern piece to the new hemline. Also you want to smooth out the harsh edge where the bodice and the hip line meet. You can do this by eye, or with a french curve. 

Hopefully you will now have a fully altered pattern piece to make a shirt with! Phew! With this pattern I made the Fantastically Generous Bloggers Shirt that you can see here! 


There is a lot more room for manouvre in this, but it still has its issues. The least of these issues being that it has now gone in the cupboard as I can't fit Bump into it anymore. But let's not dwell, there's plenty of time to deal with any further changes to be made in the next installment! I hope you're finding these posts useful, I always enjoy reading more in depth about the fitting process that someone goes through, as it reminds me that we don't all fit straight out of the envelope, and that there are fixes out there for these issues. 

I've got a weekend to myself this week, and I can't wait to sink my teeth into a more in depth sew. However, I really should make some more stretchy work skirts. Lets see whether head or heart win ey? You can follow me on instagram to get more up to date posts on what I'm doing right now @dfabricater.

Friday, 27 March 2015

Alteration & Adaptation Cami 1: Wide shoulder adjustment

Aloha! Happy Friday everyone!

Well, I'm back to clothing and sewing and stuff. The past week has consisted of plans for the future, mixed with catching up on any of the things I may have lost track of during the madness of the last six weeks. Paul and I have been on the radio which was brilliant, though the 6am Saturday start two weeks in a row wasn't massively ideal. There are also some exciting plans in the pipeline, which I've been trying to keep track of and make sure I don't drop anything, there are so many things I want to do, I don't want to forget something!

No more episodes to review unfortunately, but I've been doing lots of sewing in the meantime, and am planning to do some more in depth posts on my process for sewing. I often find a pattern that has an element that I'm interested in, make adjustments to the fit so that it is spot on and then use that base pattern to make lots of different variations.

I want to show you how to do this from beginning to end. There will be gaps for light outfit posts in between as I don't know about you but sometimes I skip the heavy stuff thinking I'll go back to it when I need it so please feel free to do the same if you don't need this right now. But I thought I'd put my two pennies worth in to the pot on adjustment and adapting.

The first of which I'm doing today. Past readers of the blog may remember my first iteration of the Pauline Alice Cami dress, the Zig Zag Cami. The dress, although fantastically bright and much worn, does have some issues.


The armholes are a little tight, with the shoulder seams too narrow, not hitting the edge of my shoulder. The arms were also a little tight, you can see the wrinkles caused by this tightness across the arms in the picture above. Also, look how awesome the garden was in the Summer! I can't wait to get back into the garden properly again.

So it was time to do some adjustments! I decided to make a shirt, to test these changes, and to fill a hole in the wardrobe. I began by making a wide shoulder adjustment on to the bodice pieces, to ensure that the shoulder seam of the bodice would hit exactly on the edge of my shoulder. You can read fully about the process here. You can see a visual representation of the process below:

1.  To begin, start by drawing the seam allowances on to the bodice pieces

2.  Then draw on one line from the centre of the shoulder line down to the arm hole, stopping at the seam allowance. Follow this by marking a line from the corner of the armhole down to your new line

3.  Cut along both lines, making sure that you don't cut entirely through, so that the pieces can pivot as you can see above. In order to make the longer line pivot, snip horizontally in the seam allowance to the end point, again ensuring that you don't cut all the way through.

4.  Pivot these pieces to reflect the amount that you would like to widen the shoulder by, making sure that the lines match up along the top, and then re-trace.

I'll pause here, as I don't want to swamp you with too much information for a Friday, I mean it's quite obviously Pub o'clock.... what do you mean you're not going to the pub? Bath and knitting is it? Well, each to their own!

This weekend I will be stitching some more Spring clothes, I'm on a complete Washi kick, so that will be the pattern that I tackle next with regards adaptation. Also, if there are any techniques you would like to learn more about please feel free to leave a comment and I'll try to cover it in one of these posts.

Happy Friday!


Bit of a disclaimer: I will be writing about the adjustments I have made to garments as these are the ones I am currently most familiar with. Therefore, unfortunately I have not been able to cover the corresponding narrow shoulder adjustment for those people where the shoulder seam falls off the edge of the shoulder. However, there are so many resources out there, and I will always try and point you in the right direction where possible. 

LinkWithin

Related Posts Plugin for WordPress, Blogger...