Tuesday 21 April 2015

Spring Washi - The sunshine is here the sunshine is here!

How are we all this fine day? I was working from home yesterday as unfortunately I'm now suffering from a thing called PGP (I think it's this... I'm still waiting on a doctors appointment) which if you're interested is something that happens to pregnant ladies. If you would like more info, click on the link. Basically it means that the more I walk the more pain I am in, so I've had to not move from a chair for the past couple of days.

As I'm sure you can imagine, this is horrendous when you're like me and love to sew, and see people and pretty much do anything other than sit on your bum (not that I don't love a bit of loafing but everything in moderation right?) So inevitably my brain is on overdrive over the things I could be doing.

Luckily I have a wonderful husband! The ivy from the great Spring Clearing of 2013 had started to grow back, you can read all about the first time I pulled it all down here.

It lasted a single year before the ivy started to grow back, and by this point it had grown completely all over the walls and fences again (though thankfully not quite to the extent that it did the last time). What I didn't realise the first time is that I am crazy allergic to this type of ivy. If it touches my skin I come out in a rash, and the rash spread all over my arms and up my legs. It was a really intense rash to be honest, pretty gross.

So! This time round my wonderful husband did it for me :-D I bought him a pair of shears to help speed the process along, but turns out all he needed was one judo chop!


Judooooo Chop! I am mightily impressed, we've managed to get most of the ivy in the green bin, and I think most of the plants survived the light trampling. Can't wait to get out there again, and start to see the flowers blooming. 

So! In honour of all things spring like, I have sewing to show you: The Spring Washi


I made this in January, when I really needed to feel like Spring was coming, and I wouldn't be cold forever. When I first cut the bodice I stupidly assumed that the fold in the middle of the fabric would be... in the middle of the fabric ha ha. So the very specific design was slightly off centre. I only had so much of this lovely fabric but I managed to piece back together the centre bodice from off cuts. hence the lovely satin piping at the under-bust. It is there to distract from the fact that the bodice and the skirt don't actually pattern match (sshhhh)


I got this beautiful fabric from Matt and Neela, when they came to stay with me last year, along with the rest of the gang. Wow! Was that last year? We need to do that again guys! so props to them for their awesome choice in fabric. 


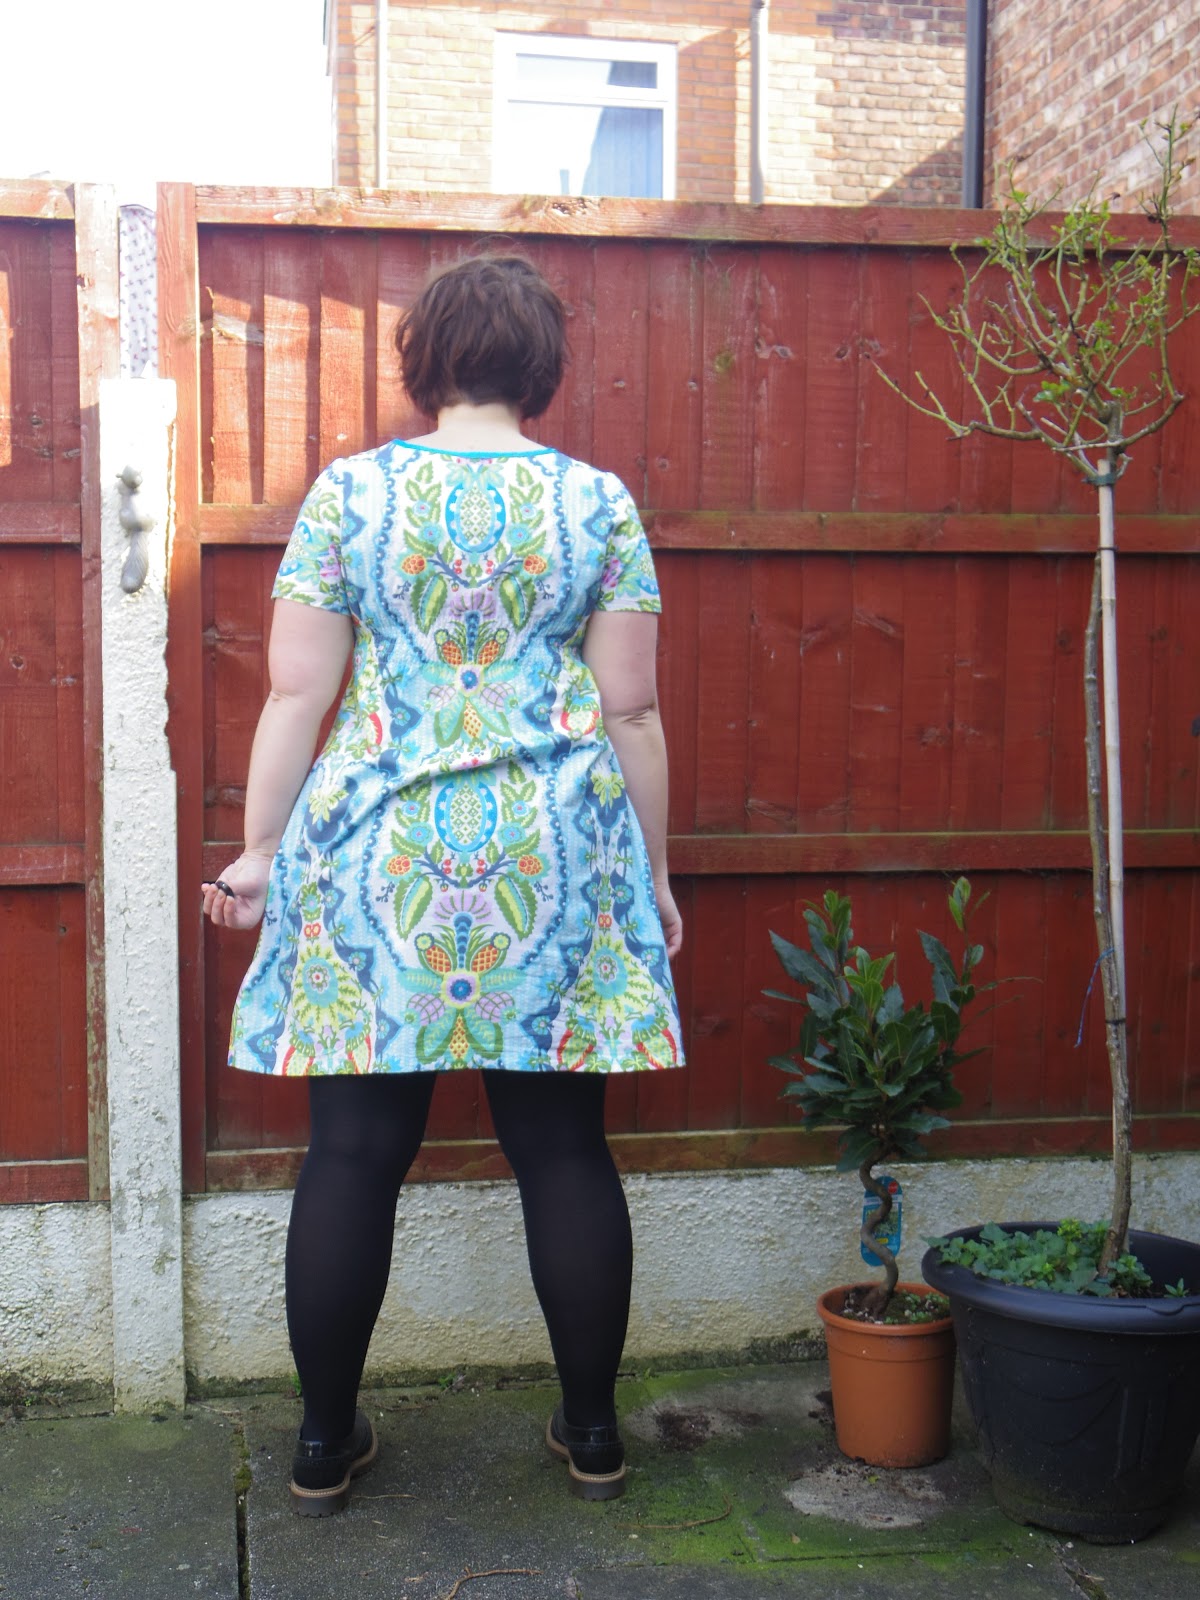
I didn't have any pictures of the back without that big fold in the fabric. I promise it's not always there, just my booty getting in the way ha ha. 


The sleeves are drafted from the Cami sleeves that I made in the great shirt make-over. But I will save that adaptation for my next instalment of 'adaptation and alteration'.

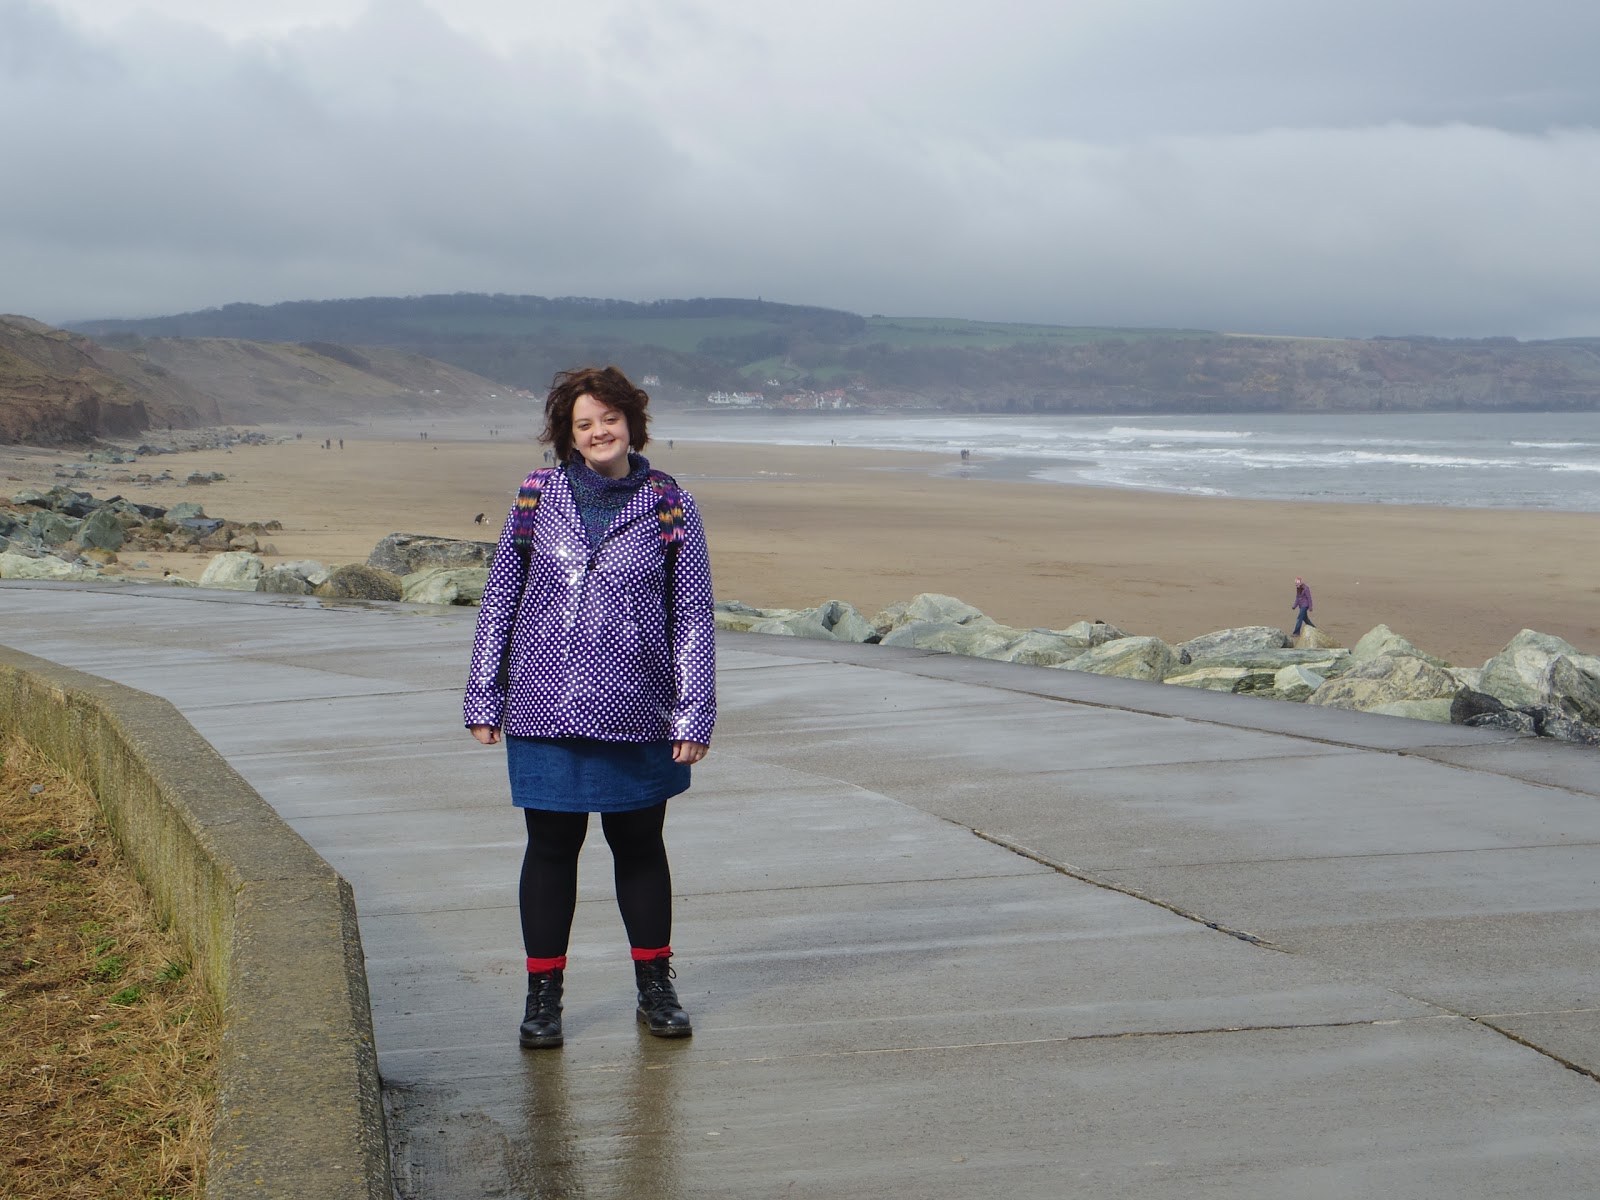
On Saturday I did a demonstration at Abakhan (from my chair). It was really fun to meet and greet people, have a good natter about the show and what they were sewing. My favourite thing is helping people with new techniques, and I showed them all sorts throughout the day such as hong kong seams and invisible zips. Everyone loves an invisible zip! If I had just demonstrated those all day then I think everyone would have been happy. Have a good week guys, I've got my fingers crossed for slightly more walking about.


This week:

You can find my shiny new column in Sew magazine, learn all about my wedding dress and what I've been up to since the Sewing Bee

Thursday 9 April 2015

A&A Cami 2: Widen Armholes

Good evening kind folk!

First off, thank you so very much for all your kind words of congratulation in comments and on Twitter. We are overwhelmed by your generosity! Me and Mr T have been doing our usual dealing with the little stuff, and the big stuff is taking care of itself. Thank you for your luck with the scan, everything looked grand, working organs and everything, I'm not sure how interested you are in our baby's organs... but now you know :-)

The weather has been amazing! We went to Whitby for the weekend, and I brought my thickest Mum knit jumper along as obviously I knew I would freeze. However, I got a sun burn! I know, nothing to brag about, but the first time you are caught out by the sun in the year is always worth a little celebration in my book. Here's me delighted just to be on holiday, however cold. I'm wearing my purple rain mac that I made last year, it's finally warm enough to wear it yay!! It really needs a zip though as half the buttons have popped off due to the inflexibility of the fabric. I'm trying to find a suitable double ended zip, but it's hard work getting one the right colour and size. Any tips?

Just imagine how big my smile was when it was sunny! I'm saving those pics for an outfit post, as I've finally got pictures of the map top I wore in episode one of the Sewing Bee. I've had quite a few requests regarding how this was made, so can't wait to show you the process.


So where were we? I've been taking you through some of the adjustments that I made to the Cami to make myself a standard shirt dress and shirt pattern. We have made adjustments to the shoulder seam, so it should now sit directly on the edge of my shoulder. You can read about this wide shoulder adjustment in my last Adaptation and Alteration post. I was hopeful that this would give me a little extra room in the bodice that would get rid of some of the pulling. However, I knew that the armholes were still tight, so I made an adjustment to widen the armhole. 

You can read a little bit more on this technique here:
1. If you previously cut a smaller size for the armholes, and you can still see the pattern marking for the larger sizes, then just cut along this line. If not, then mark the amount that you want to drop the armhole (I did this in 1cm increments) on the side seam. Using a french ruler copy the curve of the original seam line lower down, matching your mark up with the original curve as you can see in the diagram.

2.  Then you want to extend the side seams on the arm piece to match what you have just taken away from the armhole. I found the easiest thing to do was to re-trace the sleeve piece, then add the amount you need (should be the same as you have taken from the armhole in step 1) horizontally from the end point of the curve on either side of the sleeve. Taper this down to nothing at the end of the sleeve piece. 

So! As the original dress fitted so well, and I had now added so much room to the pattern at this point, I paused. I didn't want to go completely the wrong way and add in too much ease which would then result in a massive unwearable garment. So this is when I decided to make wearable muslin No. 2. 

I don't like the term wearable muslin... it makes it sound like it's a practise run, which I guess it is but doesn't do justice to the amount of work that goes into something like this. I wanted to do something a little different this time, as I didn't want to jump straight into another shirt dress. Therefore this time I opted for a shirt

In order to make a shirt pattern from the bodice, you extend the lines of the bodice out into the length for a shirt. I usually copy a shirt I already have:

1.  I first laid down my pattern piece on the table, I then covered this with see through medical paper which I use for tracing patterns. you can use any paper which is durable enough to withstand being pinned etc but is still see through enough to see the pattern pieces beneath. 

I then laid a shirt that I already owned over the pattern piece that I had made all of the adjustments to so far, matching up the end of the armhole and shoulder seam. I then traced the new hem line and hip angle up to the shirt side seam. I took away the shirt, and traced the rest of the shirt pattern that I had previously made adjustments to. 

You will want to ignore the bottom dart, but add in the bust dart to provide some shaping to your shirt.

2.  Using a ruler, follow the placket lines down from the pattern piece to the new hemline. Also you want to smooth out the harsh edge where the bodice and the hip line meet. You can do this by eye, or with a french curve. 

Hopefully you will now have a fully altered pattern piece to make a shirt with! Phew! With this pattern I made the Fantastically Generous Bloggers Shirt that you can see here! 


There is a lot more room for manouvre in this, but it still has its issues. The least of these issues being that it has now gone in the cupboard as I can't fit Bump into it anymore. But let's not dwell, there's plenty of time to deal with any further changes to be made in the next installment! I hope you're finding these posts useful, I always enjoy reading more in depth about the fitting process that someone goes through, as it reminds me that we don't all fit straight out of the envelope, and that there are fixes out there for these issues. 

I've got a weekend to myself this week, and I can't wait to sink my teeth into a more in depth sew. However, I really should make some more stretchy work skirts. Lets see whether head or heart win ey? You can follow me on instagram to get more up to date posts on what I'm doing right now @dfabricater.

Thursday 2 April 2015

Easter week - Christmas Dress

Good day my dear friends! How are we all on this miserable freezing Easter Thursday? It's not just me right? It's chillyyyy! I was so excited to get out my Spring mac, as I mentioned in that blog post, it was a very seasonally inappropriate make once it was finished so I was counting the days 'til Spring. However, it's still a bit chilly for it really, so I've had to layer up rather dramatically but I don't care. It's Spring dammit and I'll freeze if I want to! Those females are strong as hell!


So anyway, to match this chilly chilly weather I'm showing you my Christmas dress... yeah it's a little bit late I know, ha ha. What can I say? time got away from me. I made it for the Autumn of 1,000 shirt dresses, and I definitely made it within the time frame, so I'm counting it as a win... don't judge me?

You may remember all of the alterations from my last post about the cami dress. Here you can see how all of those changes translated into the next dress that I made.


The skirt is one very large rectangle with lots and lots and lots of pleating. I love a pleat, I really enjoyed the pleating process on The Great British Sewing Bee kilt I made. It's a very relaxing process, (however stressful the Bee may have been) to sit and pin, especially with such a lovely pattern as a tartan which gives you a good bold stripe to match to. 


It made for a very swishy skirt as you can see me demonstrate here. I'm giving the camera total side eye here, you may be able to spot my fancy new remote control gizmo. This is why I'm giving the camera the eye, as I've not quite gotten to the stage where I know that photos are actually being taken ha ha. I made myself so dizzy taking these!


Here you can see a close-up of the pleats, and the pattern matching across the main seam in the middle (can you tell I'm proud?).


You may see that there is a little bit of a belly bump in the following pic....    Any guesses?
I'll give you a hint... I haven't been eating too much ice cream. Well, I probably have but that's not the reason!


Me and Mr T are having a baby!! His/ her name is Spud and we are now twenty weeks in. The big scan is tomorrow but we want to keep the sex a surprise, it's all very exciting, and has taken a while to sink in. This is really happening people! It is not a drill!

These cami dresses are holding up well to the bulging waistline, but not for long probably. Hence all of the washis in my life recently! I did find it very satisfying to go through my wardrobe and put away all of the things that wouldn't fit me. It was a great excuse to put away all of those things that you keep 'for occasions' but never wear. It really made some room, though it did show I've probably got way too many clothes. I'm sure I'll quickly get to the stage where I don't have enough though, so I'm enjoying it while I can.

Hubbie and I are off on holiday for Easter, very excited!

LinkWithin

Related Posts Plugin for WordPress, Blogger...